So you’ve got your tiva launchpad and are now willing to start experiment with it right?
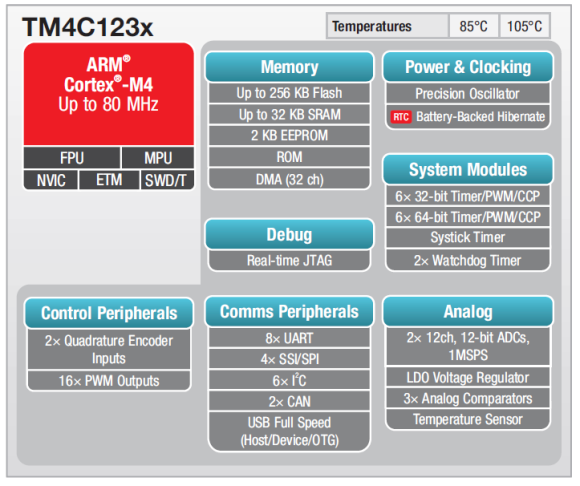
Although Ti provides clear documentation on how to get started using the launchpad, there are still some ambiguities which needs to be addressed. I’m writing this post to make it clear for how to start using the launchpad and how to upload our first led blinking code into it. We’re using the tiva c series launchpad with Texas Instruments TM4c123GH6PM Cortex M4 microcontroller on it. This is also called as TM4C123GXL. This is name of the launchpad kit

This is a very simple and powerful tool to use. The detailed instructions on how to get started are given on the getting started document listed here
For Our Experimentation, am just noting down important steps which are needed before we start experimenting with this launchpad. This is for current and future reference
- Download the Code Composer Studio from here CCSTUDIO IDE, configuration, compiler or debugger | TI.com
- Download the Tiva C Series SDK from here SW-TM4C Software development kit (SDK) | TI.com
- Extract the SDK and keep in a simple location on computer, like C :\\ ti\ SDK_FOLDER
- Install Code Composer Studio
- Open Code Composer Studio
- Create a new project
- Select the device TM4C123GH6PM
- Select the Connection as Stellaris ICD
- Create a blank project with main.c
- Once Project is created, go to project properties
- Go to Build –> Arm Compiler –> Include Options
- Here add the path to the folder where the Tiva SDK is kept on computer
- Next, goto Build –> Arm Linker –> File Search Path –> and here, add the driverlib.lib file address from tiva SDK folder, on my system that address is like this, C:\ti\TivaWare_C_Series-2.2.0.295\driverlib\ccs\Debug\driverlib.lib
Once these things are done, click apply and close and the code should build now.
Again for reference, here’s how the Properties –> Build –> Arm Compiler –> Include Options should look like

And the Options in Properties –> Build –> Arm Linker –> File Search Path should look like this

Once these options are set, the code will build and generate an .out file.
If you want to generate the .bin file to download using LM Flash Programmer, then there’s just one additional step.
- Goto Project Properties
- Build Options –> There are various tabs, selectthe tab “STEPS”
- in this tab, there’s a window called “Post-Build-Steps”
- This window should be by-default empty
- Paste this line as it is here
- “${CCE_INSTALL_ROOT}/utils/tiobj2bin/tiobj2bin” “${BuildArtifactFileName}” “${BuildArtifactFileBaseName}.bin” “${CG_TOOL_ROOT}/bin/armofd” “${CG_TOOL_ROOT}/bin/armhex” “${CCE_INSTALL_ROOT}/utils/tiobj2bin/mkhex4bin”
- Click Apply and Close
- Now When you build the project, a bin file will also generate which can be used to download code in any IC using Programmer
After these options, the screen should look like this

Hope it clears all your doubts. For any issues feel free to submit a comment here

