If you have an arduino and an Accelerometer, you can try this cool USB 3d mouse using arduino. The components required for this project is very less and you can build this 3d mouse project using arduino within 10 minutes
Parts needed for 3d Mouse using arduino
As mentioned, the parts needed for the 3D mouse are very minimal and listed below
- 1 x Arduino Micro or Arduino Leonardo (any arduino with Atmega32u4 microcontroller, NOT NANO, NOT UNO)
- 1 x MPU6050 Accelerometer
- Breadboard
- 2 x Switches (for left click and right click)
- Connecting wires
- MicroUSB Cable for code downloading
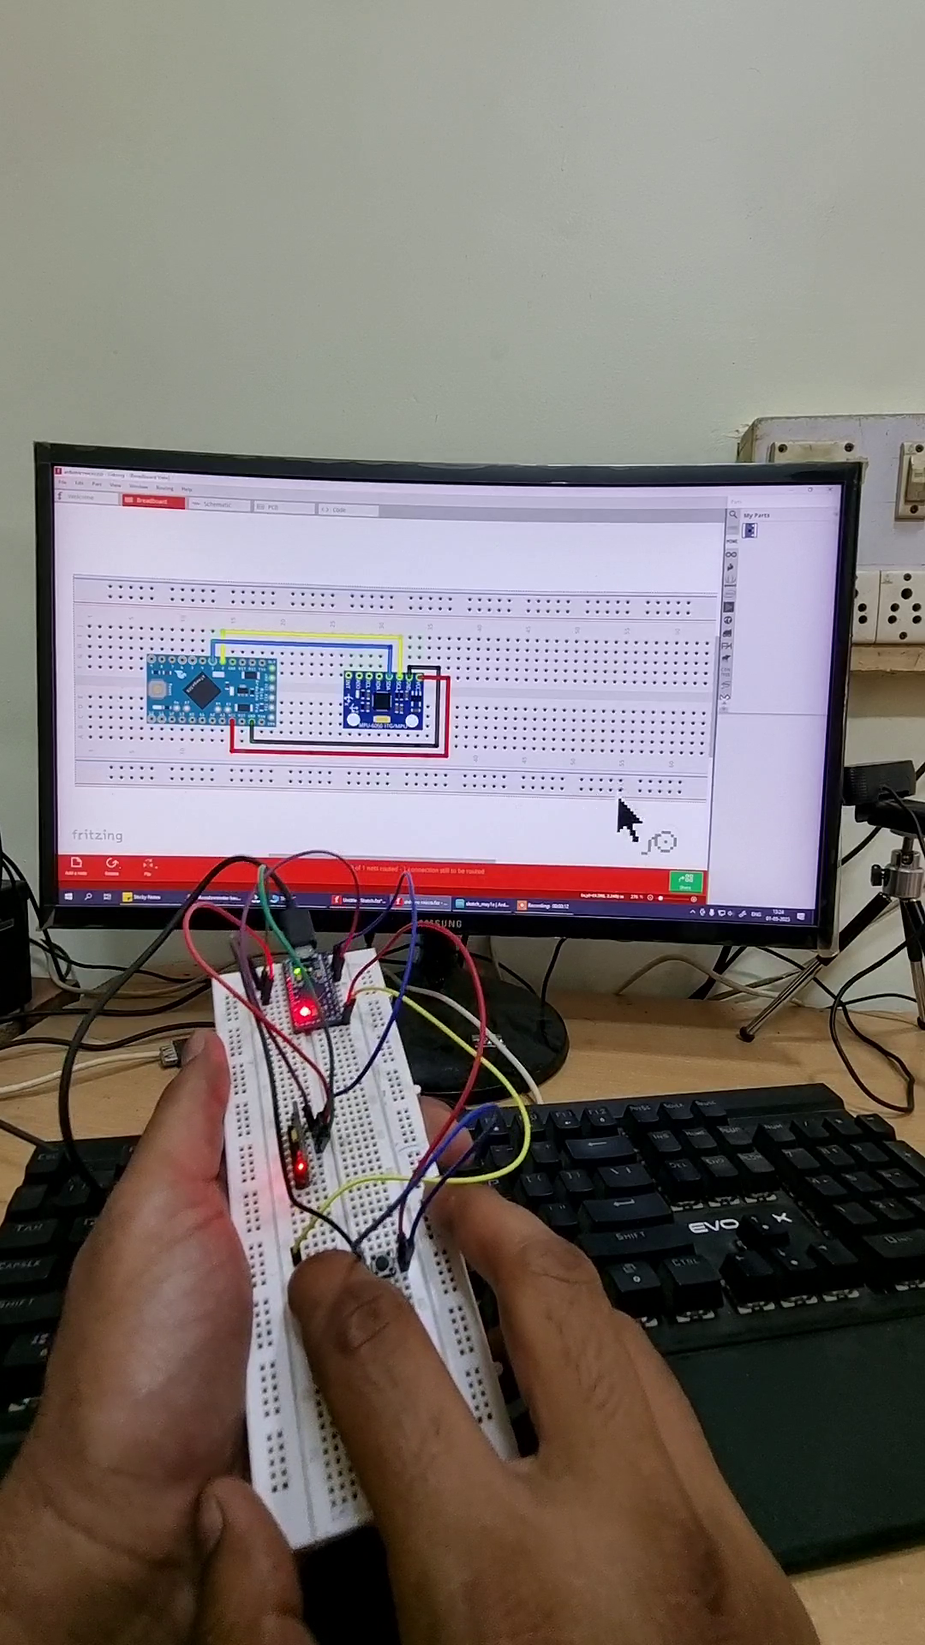
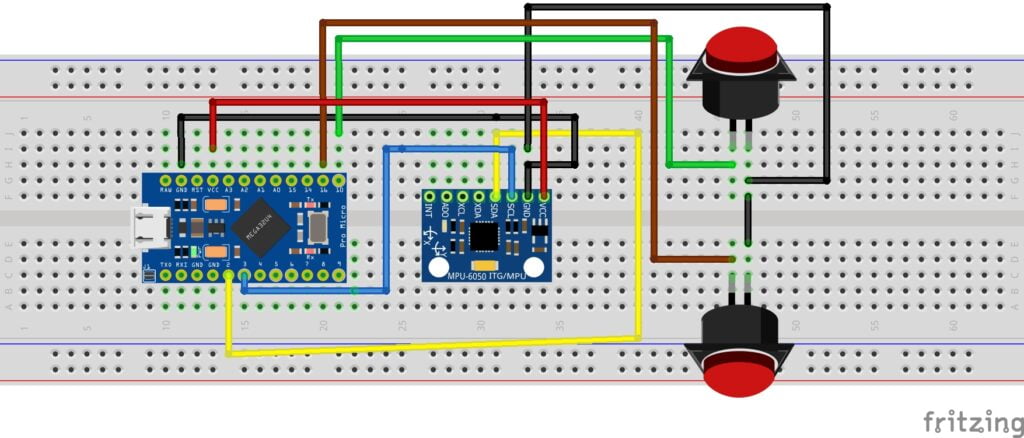
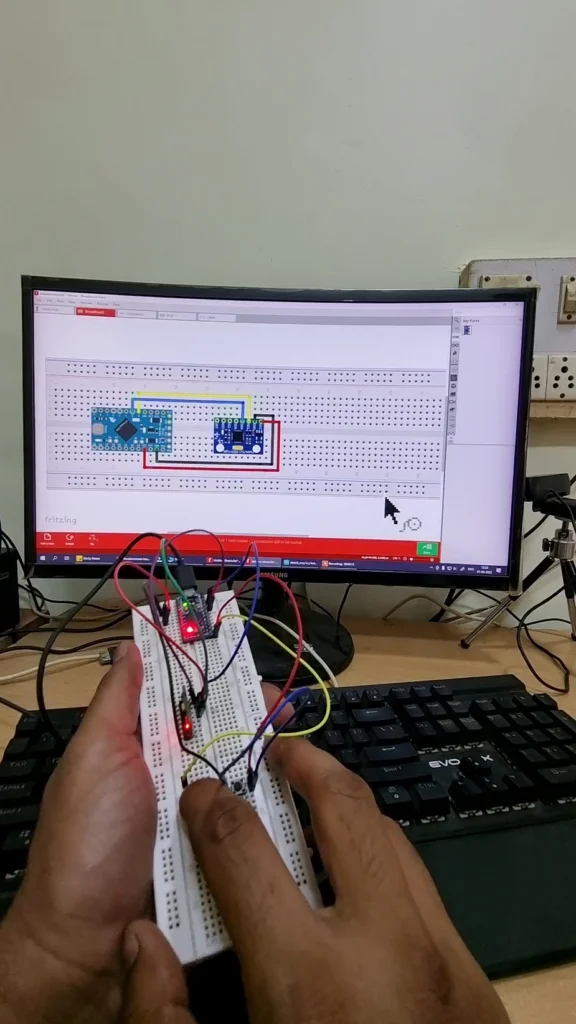
Circuit Diagram for 3d Mouse using Arduino and Accelerometer
Library Needed for This Code of 3D Mouse using Arduino
Many projects on 3d Mouse using arduino uses i2cdev library for reading the sensor values using I2c. However, due to the changing nature of Arduino IDE, I have ported this code to use only one library and that library is too available directly from Arduino’s repository.
Simply install MPU6050 library by electronics cats and you can run below mentioned code.
You can install the library by following below picture. You can also go through the video for detailed instructions.

Final Arduino Working Code for 3D Mouse using Arduino
//calibrate_air_mouse
#include <Wire.h>

#include <MPU6050.h>
#include <Mouse.h>
int count=0;

MPU6050 mpu;
int16_t ax, ay, az, gx, gy, gz;
int vx, vy;

void setup()
{
  Serial.begin(9600);
  pinMode(16, INPUT_PULLUP);  // LEFT CLICK
  pinMode(10, INPUT_PULLUP);  // Right click
  while (!Serial) ; // unless serial cable is connected, do nothing
  delay(4000);  // additional delay
  Serial.println("Hello, code start");
  Wire.begin(); Serial.println("I2C begin");
  mpu.initialize(); Serial.println("MPU Sensor Initializing...");
  if (!mpu.testConnection()) { while (1); }   // wait here infinitely till sensor initializes.

  Serial.println("Sensor initialized");
}

void loop()
{
  mpu.getMotion6(&ax, &ay, &az, &gx, &gy, &gz);

  vx = -(gx+260)/150;  // change 300 from 0 to 355
  vy = (gz+100)/150; // same here about "-100"  from -355 to 0

  Serial.print("gx = ");
  Serial.print(gx);
  Serial.print(" | gz = ");
  Serial.print(gz);

  Serial.print("        | X = ");
  Serial.print(vx);
  Serial.print(" | Y = ");
  Serial.println(vy);

  int buttonState1 = digitalRead(16); // Check left click
  int buttonState2 = digitalRead(10); // check right click

  if (buttonState1 == LOW) {
    Mouse.press(MOUSE_LEFT);
    delay(100);
    Mouse.release(MOUSE_LEFT);
    delay(200);
  }
  else if (buttonState2 == LOW) {
    Mouse.press(MOUSE_RIGHT);
    delay(100);
    Mouse.release(MOUSE_RIGHT);
    delay(200);
  }

  Mouse.move(vx, vy);


  delay(20);
}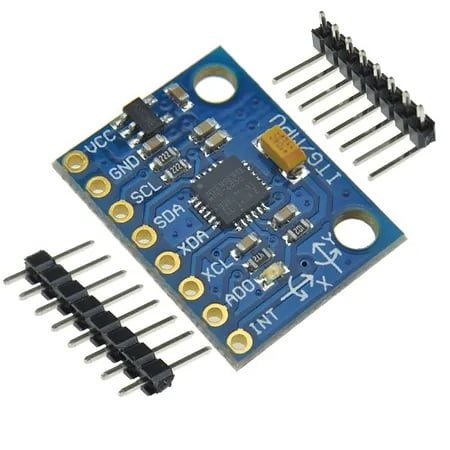
Accelerometer

Arduino Pro Micro

3d mous using arduino pro micro circuit
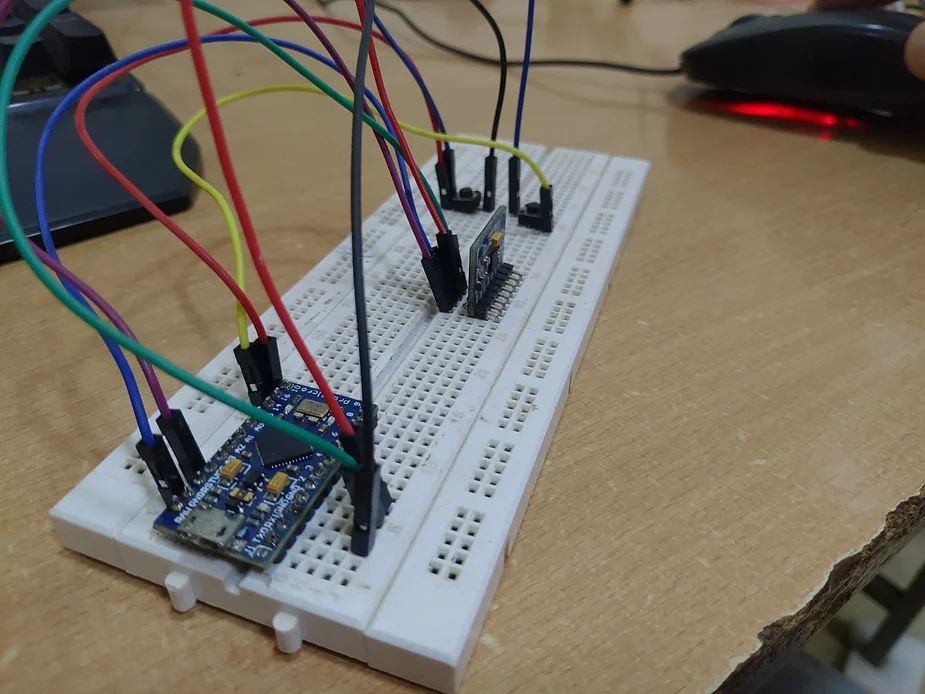
3d mous using arduino pro micro circuit


3D Mouse Working photo
Working Video of 3D Mouse using Arduino
This is the explanation video of 3d mouse using arduino

