Fire Alarm Using an Infrared Sensor With Arduino

Fire Alarm Using an Infrared Sensor With Arduino

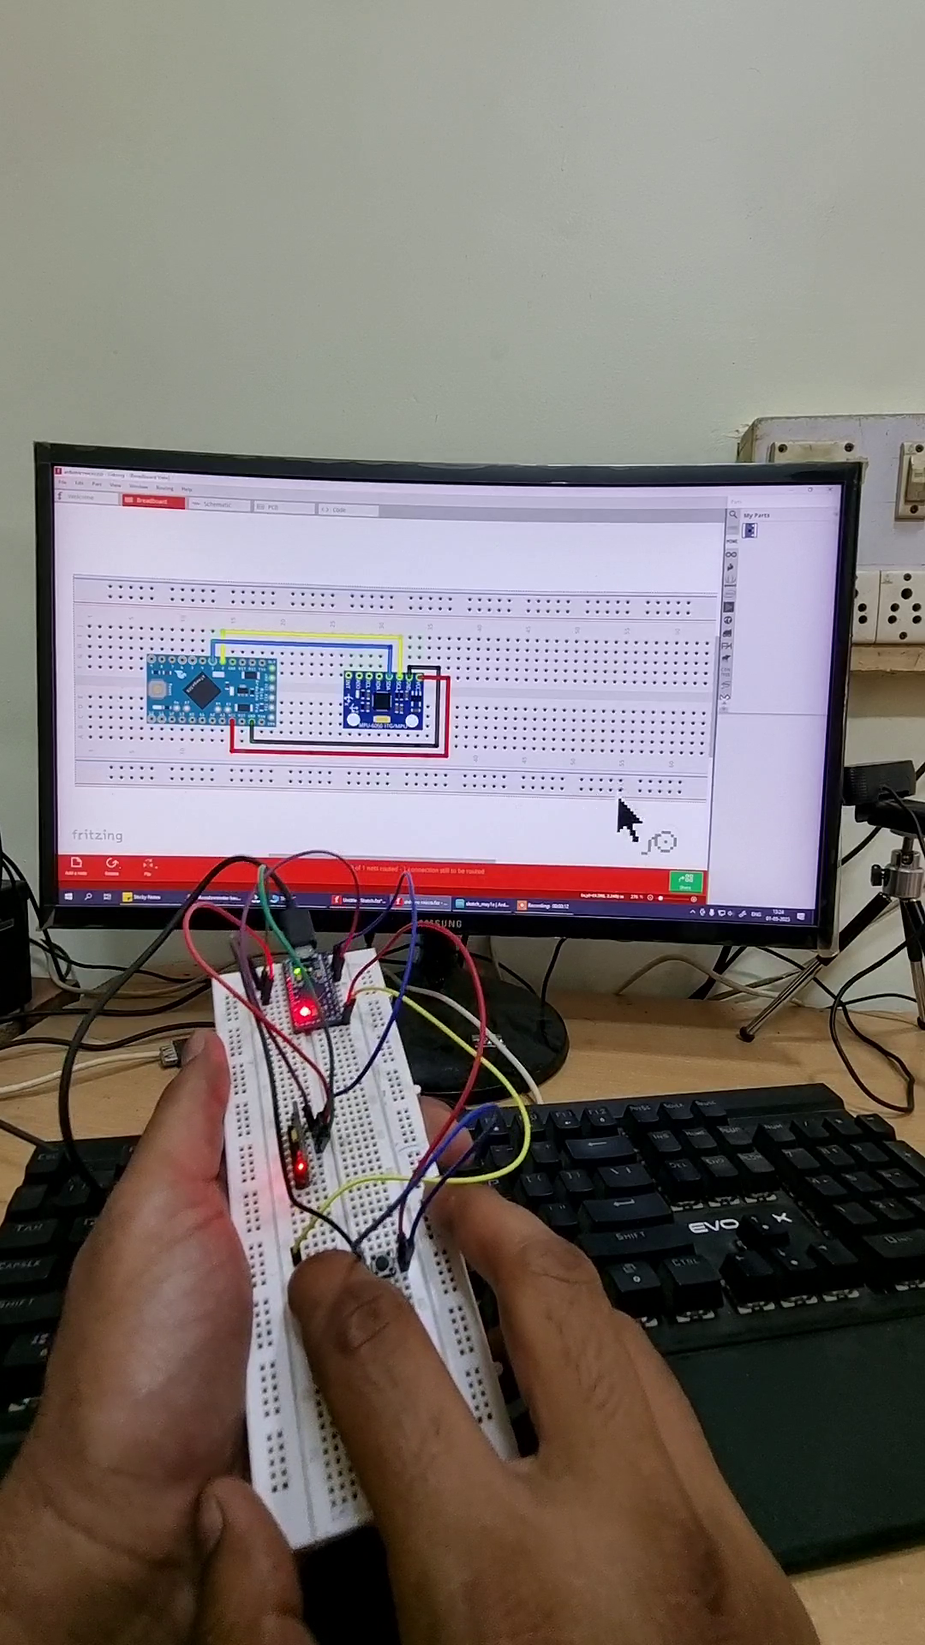
o make Fire Alarm system you will need the following components:

●Arduino board (Uno or Nano)

●Infrared sensor module (e.g. KY-026)

●Buzzer module

●LED module

●Jumper wires

●Breadboard

●220-ohm resistor

Once you have all the necessary components, you can follow these steps:

Step 1: Connect the infrared sensor to the Arduino board

●Connect the VCC pin of the infrared sensor to the 5V pin on the Arduino.

●Connect the GND pin of the infrared sensor to the GND pin on the Arduino.

●Connect the OUT pin of the infrared sensor to any digital pin on the Arduino (e.g. pin 2).

Step 2: Connect the buzzer and LED modules to the Arduino board

●Connect the positive (longer) leg of the LED module to pin 12 on the Arduino through a 220-ohm resistor.

●Connect the negative (shorter) leg of the LED module to GND on the Arduino.

●Connect the positive (+) and negative (-) pins of the buzzer module to pins 11 and GND on the Arduino, respectively.

Step 3: Write the Arduino code

●Open the Arduino IDE and create a new sketch.

write code

const int infraredSensorPin = 2;
const int buzzerPin = 11;
const int ledPin = 12;

void setup() {
  pinMode(infraredSensorPin, INPUT);
  pinMode(buzzerPin, OUTPUT);
  pinMode(ledPin, OUTPUT);
  Serial.begin(9600);
}

void loop() {
  int fire = digitalRead(infraredSensorPin);
  if (fire == HIGH) {
    digitalWrite(ledPin, HIGH);
    digitalWrite(buzzerPin, HIGH);
    Serial.println("Fire detected!");
    delay(1000);
  } else {
    digitalWrite(ledPin, LOW);
    digitalWrite(buzzerPin, LOW);
  }
}

Arduino code

Save the sketch and upload it to the Arduino board.

Step 4: Test the fire alarm

●Place the infrared sensor near a heat source (e.g. a lighter or a candle).

●Once the sensor detects the heat, the LED module and buzzer module will turn on, and the message “Fire detected!” will be printed on the Serial Monitor.

To turn off the alarm, move the heat source away from the infrared sensor

How to create 3D Mouse using Arduino and Accelerometer

How to create 3D Mouse using Arduino and Accelerometer

If you have an arduino and an Accelerometer, you can try this cool USB 3d mouse using arduino. The components required for this project is very less and you can build this 3d mouse project using arduino within 10 minutes

Parts needed for 3d Mouse using arduino

As mentioned, the parts needed for the 3D mouse are very minimal and listed below

  1. 1 x Arduino Micro or Arduino Leonardo (any arduino with Atmega32u4 microcontroller, NOT NANO, NOT UNO)
  2. 1 x MPU6050 Accelerometer
  3. Breadboard
  4. 2 x Switches (for left click and right click)
  5. Connecting wires
  6. MicroUSB Cable for code downloading

Circuit Diagram for 3d Mouse using Arduino and Accelerometer

Library Needed for This Code of 3D Mouse using Arduino

Many projects on 3d Mouse using arduino uses i2cdev library for reading the sensor values using I2c. However, due to the changing nature of Arduino IDE, I have ported this code to use only one library and that library is too available directly from Arduino’s repository.

Simply install MPU6050 library by electronics cats and you can run below mentioned code.

You can install the library by following below picture. You can also go through the video for detailed instructions.

Final Arduino Working Code for 3D Mouse using Arduino

//calibrate_air_mouse
#include <Wire.h>

#include <MPU6050.h>
#include <Mouse.h>
int count=0;

MPU6050 mpu;
int16_t ax, ay, az, gx, gy, gz;
int vx, vy;

void setup() 
{
  Serial.begin(9600);
  pinMode(16, INPUT_PULLUP);  // LEFT CLICK
  pinMode(10, INPUT_PULLUP);  // Right click
  while (!Serial) ; // unless serial cable is connected, do nothing
  delay(4000);  // additional delay
  Serial.println("Hello, code start");
  Wire.begin(); Serial.println("I2C begin");
  mpu.initialize(); Serial.println("MPU Sensor Initializing...");
  if (!mpu.testConnection()) { while (1); }   // wait here infinitely till sensor initializes. 
  
  Serial.println("Sensor initialized");
}

void loop() 
{
  mpu.getMotion6(&ax, &ay, &az, &gx, &gy, &gz);

  vx = -(gx+260)/150;  // change 300 from 0 to 355
  vy = (gz+100)/150; // same here about "-100"  from -355 to 0

  Serial.print("gx = ");
  Serial.print(gx);
  Serial.print(" | gz = ");
  Serial.print(gz);
  
  Serial.print("        | X = ");
  Serial.print(vx);
  Serial.print(" | Y = ");
  Serial.println(vy); 

  int buttonState1 = digitalRead(16); // Check left click
  int buttonState2 = digitalRead(10); // check right click

  if (buttonState1 == LOW) {
    Mouse.press(MOUSE_LEFT);
    delay(100);
    Mouse.release(MOUSE_LEFT);
    delay(200);
  }
  else if (buttonState2 == LOW) {
    Mouse.press(MOUSE_RIGHT);
    delay(100);
    Mouse.release(MOUSE_RIGHT);
    delay(200);
  }
  
  Mouse.move(vx, vy);

    
  delay(20);
}

Accelerometer

Arduino Pro Micro

3d mous using arduino pro micro circuit

3d mous using arduino pro micro circuit

3D Mouse Working photo

Working Video of 3D Mouse using Arduino

This is the explanation video of 3d mouse using arduino

What is Arduino

What is Arduino

We are often hearing about Arduino board a lot. Some say, its a board used for developing nice projects, some say its an engineers tool, some say its a microcontroller board, and some say its fairly simple thing to play with. The fact? all the statements above are TRUE!!! Yes. Arduino board is basically a board with a powerful processor on it, now what is the processor? We have heard that the processor is there in a Computer. Arduino board is having a similar thing, but it is not as powerful as a computer. It’s also not as costly as that of computer. A computer processor requires a motherboard to operate which houses all the required things for the microprocessor. On the other hand, Arduino has something called Micro-Controller. Yes, the microcontroller is a kind of processor itself, but it does not require any motherboard. Micro-controller is an electronic chip that can be directly connected to any external world devices, like sensors, LEDs, switches etc… directly and it can be programmed to do our desired task. The beauty is, microcontrollers can be reprogrammed again and again for finishing our job the way we want it to be done. Arduino is basically a microcontroller board. The official Arduino website is this

Who uses Arduino Board?

Being said it’s a microcontroller board, who is suitable to use Arduino Board? There’s a more interesting answer to this. Arduino was developed with the sole purpose to make it usable for ANYONE and I mean ANYONE who is interested in using it. The only thing you require to use an Arduino board is understanding English for writing programs for Arduino board. The intention was to make Arduino easy to use by any artist, hobbyist, enthusiast, or engineer. So even if you’re a school going student, a collegian, working somewhere, or retired getting bored, Arduino is for Everyone. Anyone who can read English can write programs for Arduino and develop some really cool Projects.

Open Source Nature of Arduino Board

Arduino is a first of its kind open-source hardware. Open-source hardware means, for all the Arduino boards that are available in the market, all their circuits and layouts and schematic files are freely available to download. You are authorized to do reproduce Arduino boards, or make something your own out of it. You’re entitled to do everything except one thing, that is to use the name ARDUINO. Arduino’s name can not be printed by any other company except Arduino itself. So people develop various Arduino board variations and give it their own name, the most popular one is called FreeDuino. You can also write Arduino coding without using the text by simply following blocks. Learn more about Arduino block-based coding here

Arduino at Glance

As said before, Arduino is a microcontroller board developed for anyone to be able to use it. Let’s see what it is actually. Look at below Picture

Arduino UNO

Above image shows the picture of most popular Arduino Board. This board is called Arduino Uno. We’ll first discuss about arduino and then about the various versions of it. Have a look again at below Image

Arduino Architecture

As you see in above picture, the most important part of Arduino board are USB connector, Microcontroller IC, and the Arduino Pins. If you give a close view, you can read the arduino pins on top side numbered as Pin 0, 1, 2 up-to 13. On the bottom side, there are Arduino pins numbered as A0, A1, unto A5 and some power pins Description of these blocks is as below

Power Jack

Arduino UNO Power jack

This power jack is to provide external DC voltage to power the Board ON, usually Arduino board can be powered from USB cable and we don’t always need to give any external power to the board. Though in some cases, if external power is needed, the Power Jack can be used, we can give any voltage to this power jack from 7V – 20V DC, usually we should not give more than 12v In order to not to damage the on-board voltage regulator IC’s

Power Pins

Vin – This is the pin which gives the applied input voltage through the black coloured DC jack, remember you don’t need to connect power through this DC jack always, you can use the arduino with the USB power also GND, 5v – +5v and Ground connection of board, its required many times while interfacing with external peripherals, when we need to give power to any sensor outside of board, we use these pins3.3v Internal 3.3v supply coming out of the regulator on Arduino board, not much strong, good for powering small things Reset – The Reset Pin of micro controller, giving GND to this Pin resets the controller, there is a reset switch also present to reset arduino board

Arduino Board Pins

Pin 0 – Pin 13, these are the Digital Input/Output Pins of Arduino, means you can take digital inputs (5v or 0v) or giving digital outputs using these pinsPin A0-A5, these are same as the other digital Input/Output pins, except these are also capable of accepting analog inputs. Any signal whose voltage is to be known within 0-5v can be given directly to this pin

Arduino Software

One can write simple arduino programs using the Free and Open Source Arduino Software. Arduino IDE is available for Free download from this link. http://arduino.cc/en/Main/Software Choose the Operating System before you download any files, as of today, Arduino supports all Major Operating Systems, viz, Windows, Linux and Mac. You can download arduino as a single install-able file for windows or can also choose a complete package that does not need any installation. You can install the official arduino software free of cost from here

Arduino Board Versions

There has been a variety of various Arduino Boards available which can sometimes make one to get confused. Though the Uno and other compatible boards (duemilanove) are most popular, there are many other Arduino boards available from Arduino. Here’s a quick list to understand basic differences between popular arduino boards features and pricing

Arduino Uno

  • Processor: ATmega328 (8-bit CPU, 16MHz clock speed, 2KB SRAM, 32KB flash storage)
  • Features: 14 digital I/O pins, 6 analog input pins, removable microcontroller
  • Form Factor: 2.7″ x 2.1″ rectangle
  • Price: Rupee 1400 (original, clones are available at much cheaper costs too!!!)

Arduino Uno is the most “standard” Arduino board currently on the market, and is probably the best choice for beginners just getting started with the platform. The board is compatible with more shields (add-on boards) than other models. Additionally, the ATmega328 microcontroller (if damaged) can be removed from its socket and replaced for as little as 200 Rupee.

The Uno’s main limitation is the ATmega328 chip, which doesn’t have a lot of SRAM or flash memory. That limits the kinds of programs you can load on the chip—if your project involves a display or otherwise needs to store and use any form of images or audio data, 2KB of memory probably isn’t going to be enough. But still for most of the beginner’s projects, uno is the best choice

Arduino Mega

Arduino Mega
  • Processor: ATmega2560 (8-bit CPU, 16MHz clock speed, 8KB SRAM, 256 KB flash storage)
  • Features: 54 digital I/O pins, 16 analog input pins, non-removable microcontroller
  • Form Factor: 2.7″ x 2.1″ rectangle
  • Price: Rupee 3000INR (original, clones are available at much cheaper costs too!!!)

As the name suggests, Arduino Mega is with mega features, Massive pin count, 54 pins is too much and can handle most of the big projects also. It has got the same kind of CPU as that of Uno but with an added pin, added RAM, and added Flash Memory, Flash memory is something where Program is stored. Arduino Mega is perfectly suitable for small to large projects equally. But due to the inclusion of new boards, mega is not so extensively used these days.

Arduino Leonardo

  • Processor: ATmega32u4 (8-bit CPU, 16MHz clock speed, 2.5KB SRAM, 32KB flash storage)
  • Features: 20 digital I/O pins, 12 of which can be used as analog inputs, native USB support
  • Form Factor: 2.7″ x 2.1″ rectangle
  • Price: Rupee 1800-2000/- INR

The Leonardo is, essentially, a slight upgrade to the Uno. It looks a lot like the Uno, but it features a soldered-on ATmega32u4 microcontroller with a tiny bit more memory. The main advantage of the AtMega32u4 is the chip’s built-in USB compatibility. This allows the Leonardo to interface with a PC, which sees it as a generic mouse or keyboard. It also features a few extra analog input pins.

Most impressively? The Leonardo is actually cheaper than the Uno, ( This thing does not apply to India, sadly, here uno is cheaper than Leonardo). Before you buy Leonardo, remember that the general assumption around the web says that Leonardo still has a few bugs that need rectification and isn’t quite as beginner-friendly as the Uno.

Arduino Due

Arduino Due
  • Processor: Atmel SAM3X8E ARM Cortex-M3 (32 bit CPU, 84MHz clock speed, 96KB SRAM, 512KB flash storage)
  • Features: 54 digital I/O pins, 12 analog input pins, 2 analog output pins, native USB port
  • Form factor: 4″ x 2.1″ rectangle
  • Price: Rupee 3400/- INR

One of the newest Arduino boards, the Due is the big guy in this family, packing a 32-bit ARM processor that faster than any of the processors found in other Arduino boards. The Due is primarily for much more complicated projects that can make use of its muscular processor, or that need more I/O pins than are found on the smaller Arduino boards. So the Due is substantially bigger and more expensive than the Uno or Leonardo, so consider whether you really need the extra power before buying this.

One drawback to the Due is that it operates at 3.3 volts, which is different than the 5 volts that most other Arduino boards operate at. That limits the add-on hardware that’s compatible with the Arduino Due—if an add-on board tries to send a 5 volt signal to the Due’s I/O pins, it could damage the microcontroller. If you need a powerful Arduino board that still operates at 5 volts, you can look at the $58 Arduino Mega 2560, but for the most purposes that board is outperformed by the cheaper Due.

Arduino Esplora

Arduino Esplora
  • Processor: ATmega32u4 (8-bit CPU, 16MHz clock speed, 2.5KB SRAM, 32KB flash storage)
  • Features: Lots of built-in input and output hardware
  • Form Factor: 6.5″ x 2.4″ oval
  • Price: Rupee 4500/- INR

The Esplora is an Arduino board (based on the Leonardo hardware) that comes with a whole bunch of some input and output hardware soldered directly to the board. On the input side you get a joystick, four buttons, a linear potentiometer (slider), a microphone, a light sensor, a temperature sensor and a three-axis accelerometer. For outputs, you get a buzzer, an RGB led, and a TFT display connector to attach a LCD screen (not included).

The deal is that you do not get the standard set of digital and analog I/O pins, which allow you to wire up all sorts of hardware to your Arduino board. That sharply limits the kinds of projects you can make. The Arduino Esplora is best for people who want to learn to use the Arduino software to write programs that have access to a basic toolbox of I/O sources, without having to worry about the electronics side of things.

Arduino Yun

Arduino Yun
  • Processor: ATmega32u4 (8-bit CPU, 16MHz clock speed, 2.5KB SRAM, 32KB flash storage), Atheros AR9331 system on a chip
  • Features: Wi-fi enabled Linux based system on a chip, 14 digital analog I/O pins, 12 of which can be used as analog inputs. Native USB.
  • Form Factor: 2.7″ x 2.1″ rectangle
  • Price: Rupee 6000/- INR

The Yun is an attempt to make it easier to connect to cloud-based services from the Arduino platform. Typically, the low-bandwidth, low-memory micro controllers have a hard time handling the verbose protocols used to access those services—to get around this limitation, the Yun features a separate Linux-based system-on-a chip on the motherboard. The Linux system takes care of the networking tasks, while you can use the ATmega32u4 like a standard Arduino Leonardo. It simply converts the arduino into a full wireless board compatible

More Arduino boards can be found on the official Arduino website here

Verdict

That said, it’s up to you to decide the perfect arduino for your project. Generally, if you’re a beginner, then Arduino Uno is best to get started with due to low cost, ease of use and a large amount of open source projects already developed for trying and hacking. Happy Learning!!! Offcourse these are not the only arduino boards available out there, there are a lot more of them which you can check on www.arduino.cc. Thank you for reading.

Arduino Block Based Coding: Learn Arduino without writing a single Line of Code

Arduino Block Based Coding: Learn Arduino without writing a single Line of Code

Everyone who is even remotely in touch with Electronics and DIY industry must have heard of Arduino. And there are many people out there who do not belong to technical background and know simply nothing about what a microcontroller is, but they still want to use Arduino. Recently, I had a friend of mine who visited me; he wanted to build a musical painting he saw somewhere on internet and it used arduino, he came to me for help related to coding of Arduino, now this man knows nothing about arduino boards and probably, after this one project, he may or may never use arduino in future. Now for such a small project, does it make sense for him to learn C Coding? Sounds a stretch right?

Forget about the one-time project, even for the people who are new to Arduino’s and embedded world but wish to master this field with continuous practice, wouldn’t it be simpler to have a learning tool which gets much easier to adapt and scale later on? Definitely! If you’re someone who wants to start coding Arduino and don’t know the C coding or any text-based coding, this post is exactly created for you, read on 🙂

Apart from text-based coding, there are BLOCK based coding alternatives available for Arduino. Contrary to text-based coding, block-based coding does not involve writing lines of code to execute something, instead, it uses blocks which are pre-made and the user has just to drag and drop them. By connecting these blocks to each other, a program is created which performs exactly like the text program. In fact, in many cases, the blocks generate an equivalent Code, in C or any other language. There are plenty many such platforms available, but we’ll only discuss those which provide raw Arduino code as output so they’re most usable

  1. Ardublock (http://blog.ardublock.com/)
    Ardublock is one of the oldest and simplest block coding alternative to Arduino, it comes as an executable jar file and needs some settings to be done with Arduino installation to work. Its written in Java and the course can be hacked using eclipse for it. For absolute beginners, its not recommended
  2. mBlock (http://www.mblock.cc/)
    mBlock is created by the chinese robotics company makeblock. mBlock is created with primary intention of making it easier to be used with the variety of the robots manufactured by makeblock. But they’ve also given an additional Arduino ONLY mode in the mblock using which the software can be used with any normal IDE, its recommended for beginners but have very limited functionality in terms of code generation
  3. Ardublockly (https://ardublockly.embeddedlog.com/)
    This is what stands out of all the block based coding softwares available for Arduino. Since Ardublockly is built around Google’s Blockly project, it simply generates an equivalent Arduino Code and hence can generate any amount of code for almost everything there’s in arduino. Moreover, ardublockly can be used directly online or can be downloaded and be integrated with your existing arduino Installation

Ardublockly Usage

Using Ardublockly online is pretty straight forward, just to go https://ardublockly.embeddedlog.com/ and start building blocks, on one hand of the browser, you can see the respective code generated for the Arduino.

In this case, the generated code needs to be copied onto the Arduino IDE and then manually upload the code to arduino.
On the other hand, if you want to directly upload code to Arduino board from Ardublockly interface, you need to download ardublockly. And here the things go little difficult. The ardublockly source gets downloaded and we need to do little modifications to make it work with our Arduino installation present on the computer

Using Ardublockly to upload code to Arduino Board

I’ve created a video as a part of my online training course which explains how to use Ardublockly to directly directly upload codes to the Arduino board. See the video below

Having said all this, one thing is for sure true and that is there is no escape to the conventional text based coding for Arduino. Since lots of libraries needs to be used while creating a project, but for a beginner, its always better to start off using Ardublockly and shift silently to the text based coding.

For those willing to learn Ardublockly easily, I’ve created a quick course on Udemy, you may want to check out and you may also request me coupon for it 🙂

The course is here
https://learn.kitflix.com/arduino-programming-using-simple-drag-and-drop-blocks

Happy Learning!!!